Typecho博客搭建方法小结
· 阅读需 4 分钟
生命不息,折腾不止。之前我的博客是用Apache部署在Ubuntu上的,由于云服务器快到期了就又买了一台,并打算用Nginx在CentOS上部署。要问我为何这样换,额,貌似后者现在更流行点?不过,既然折腾了,就顺便记录下吧,都是在root用户下操作的。
MySQL
MySQL虽然早就发布了8.0版本�,不过似乎到现在仍然没有流行开来,并且还有个MariaDB接替了它的开源位置,这使得MySQL 5.7依然被广泛使用。安装完毕后,创建数据库供Typecho使用(默认"typecho")。
# 添加源
$ rpm -ivh https://dev.mysql.com/get/mysql57-community-release-el7-12.noarch.rpm
# 安装MySQL
$ yum install mysql-community-server
# 查看初始密码
$ cat /var/log/mysqld.log | grep -i "temporary password"
# MySQL初始化
$ mysql_secure_installation
# 登录MySQL
$ mysql -u root -p
# 创建数据库"typecho"
mysql> create database typecho;
安装Nginx
$ yum install epel-release
$ yum install nginx
安装PHP
源里默认的PHP版本是PHP5,太老了。这里安装PHP 7.3,安装时留意下安装的版本哦。
# 添加源
$ yum install yum-utils
$ yum install http://rpms.remirepo.net/enterprise/remi-release-7.rpm
$ yum-config-manager --enable remi-php73
$ yum update
# 安装PHP和一堆相关依赖
$ yum install php php-mcrypt php-devel php-cli php-gd php-pear php-curl php-fpm php-mysql php-ldap php-zip php-fileinfo php-json php-mbstring php-mysqlnd php-xml php-xmlrpc php-opcache
下载Typecho
Typecho有稳定版和开发版,这个根据自己的喜好,然后放到/usr/share/nginx/目录下(假设目录名是"typecho")。
# 下载开发版
$ git clone https://github.com/typecho/typecho.git /usr/share/nginx/typecho
Nginx配置
Nginx的配置文件是/etc/nginx/nginx.conf,编辑之。主要是server部分的配置:
listen的端口号,HTTP是80,HTTPS是443server_name填写网址root填写网站目录。注意要在/usr/share/nginx/下,否则可能有权限问题导致无法访问rewrite和location可以参考我的配置
server {
    listen       80 default_server;
    listen       [::]:80 default_server;
    server_name  jlice.top www.jlice.top;
    root         /usr/share/nginx/typecho;
    index        index.html index.htm index.php;

    # Load configuration files for the default server block.
    include /etc/nginx/default.d/*.conf;

    if (!-e $request_filename) {
        rewrite ^(.*)$ /index.php$1 last;
    }

    location ~ \.php(\/.*)*$ {
        set $path_info "";
        set $real_script_name $fastcgi_script_name;
        if ($fastcgi_script_name ~ "^(.+?\.php)(/.+)$") {
            set $real_script_name $1;
            set $path_info $2;
        }
        fastcgi_pass 127.0.0.1:9000;
        fastcgi_index index.php;
        fastcgi_param SCRIPT_FILENAME $document_root$fastcgi_script_name;
        fastcgi_param SCRIPT_NAME $real_script_name;
        fastcgi_param PATH_INFO $path_info;
        include fastcgi_params;
    }
}
HTTPS配置
现在网站不搞个HTTPS,Chrome浏览器会提示不安全。Let's Encrypt的证书是免费的,可以使用certbot工具来申请。比如我的网站就搞了个:
如果使用--standalone模式,需要先停止nginx。申请过程如下:
# 安装certbot
$ yum install certbot
# 停止nginx
$ systemctl stop nginx
# 申请证书
$ certbot certonly --standalone -d jlice.top -d www.jlice.top
# 启动nginx
$ systemctl start nginx
HTTPS的server部分的配置如下:
server {
    listen       443 ssl http2 default_server;
    listen       [::]:443 ssl http2 default_server;
    server_name  jlice.top www.jlice.top;
    root         /usr/share/nginx/typecho;
    index        index.html index.htm index.php;

    ssl_certificate "/etc/letsencrypt/live/jlice.top/fullchain.pem";
    ssl_certificate_key "/etc/letsencrypt/live/jlice.top/privkey.pem";
    ssl_session_cache shared:SSL:1m;
    ssl_session_timeout  10m;
    ssl_ciphers HIGH:!aNULL:!MD5;
    ssl_prefer_server_ciphers on;
重点是ssl_certificate和ssl_certificate_key的配置,分别是fullchain.pem和privkey.pem的路径。未列出的其余部分和HTTP的server部分的配置一样。
然后添加任务计划,让certbot每两个月更新一下证书,因为证书有效期是3个月:
# 编辑crontab
$ crontab -e
# 添加以下内容:
0 3 * */2 * /usr/bin/certbot renew --pre-hook "systemctl stop nginx" --post-hook "systemctl start nginx"
后记:
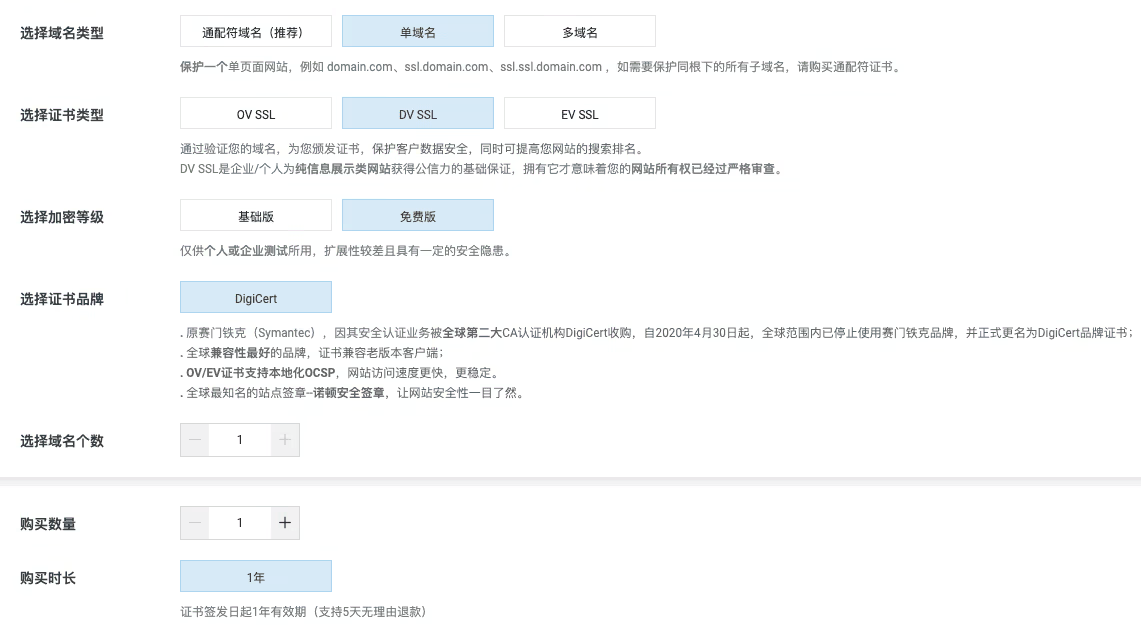
突然发现阿里云上就有免费的SSL证书,没必要整上面那么麻烦。明明自己之前弄过的咋就忘了呢,唉。
